
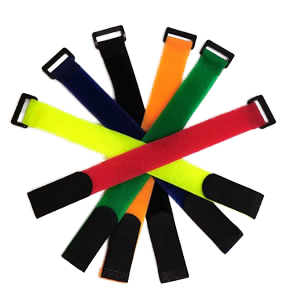


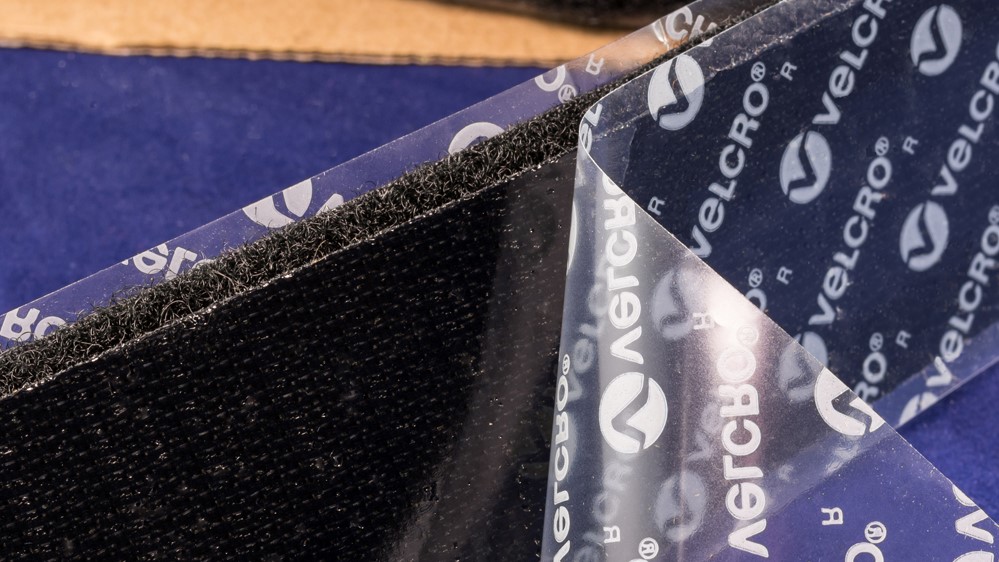
Pressure Sensitive Adhesive
When we say pressure-sensitive adhesive, we are referring to adhesives that are applied to the back side of the hook and loop fasteners and are protected and preserved with a paper or plastic release liner. This is commonly referred to as sticky back or peel-and-stick hook and loop. These fasteners are peeled from the release liner and fastened to a variety of substrates with pressure. You can press them on by hand or clamp or weight them down to secure a firm bond. We sell our DuraGrip brand and VELCRO® brand fasteners with this adhesive backing as well as without it (called sew-on).There are two popular options when it comes to pressure sensitive adhesives, or PSAs. There is a rubber-based adhesive and an acrylic-based adhesive.
Rubber Adhesive
The rubber-based adhesive is generally good for 90% of applications. It is a high-tack adhesive, meaning it is very sticky, and it is quick setting, generally reaching 80% bond strength after one hour. It also sticks well to a wide variety of substrates including aluminum, stainless steel, glass, plastics and drywall. It also bonds well to rough or uneven surfaces like wood. The downside to rubber-based adhesives is that their operating temperature range isn't as broad as the acrylic option, only good up to 120 to 190 degrees Fahrenheit, depending on which brand. That means the rubber based adhesives are ideal for controlled climate applications. The rubber adhesive also does not hold up well to moisture or chemical use.Acrylic Adhesive
The acrylic-based adhesive has a higher operating temperature range, withstanding 225 to 240 degrees Fahrenheit, again depending on the brand. The acrylic adhesive also sticks well to a more limited range of substrates including aluminum, stainless steel, glass and certain plastics. Another advantage of the acrylic-based adhesive is that it holds up well to moisture and chemical use. The downside to acrylic-based adhesives is that it is a medium tack, medium setting adhesive, meaning it takes a full 24 hours for the adhesive to reach full bond strength. Since it is a medium tack adhesive, there can be some adhering issues with certain LSE plastics, or rough or uneven surfaces.The best way to remember the differences between rubber and acrylic adhesives is to think of the rubber as an indoor adhesive and the acrylic as an outdoor adhesive. That doesn’t mean the rubber can’t be used outside or that the acrylic can’t be used inside. It is just a good general way to associate each adhesive’s strengths and weaknesses.
Make It Last
So now that you’ve picked out the best adhesive for your application, how do you get it to last as long as possible? In order to ensure the best bond between the substrate and the adhesive, be sure to clean the surface, preferably with a solvent, and make sure it is completely dry before bonding. It is best to apply the adhesive at room temperature, between 60 and 75 degrees Fahrenheit. Let the adhesive set for a full 24 hours before applying any weight to it.It is also important to note that strips should run horizontally and not vertically. “Creep” is how much weight is required to cause the adhesive to begin to fail and start to peel. Once it begins, the bond strength continues to diminish. Creep is measured per inch of width, so running your strips vertically only provides the bond strength of the material width. If the material is run horizontally, the length of the strip provides a much stronger bond.
One More Time, So It Sticks!
First, it's important to identify which adhesive is best for the substrate you want to adhere it to.Second, make sure the adhesive will hold up to the temperatures it will be exposed to.
Third, clean and prepare your surface and allow the adhesive to fully set up and cure.
And lastly, run your strips horizontally when possible to make sure the adhesive can support as much weight as possible.


