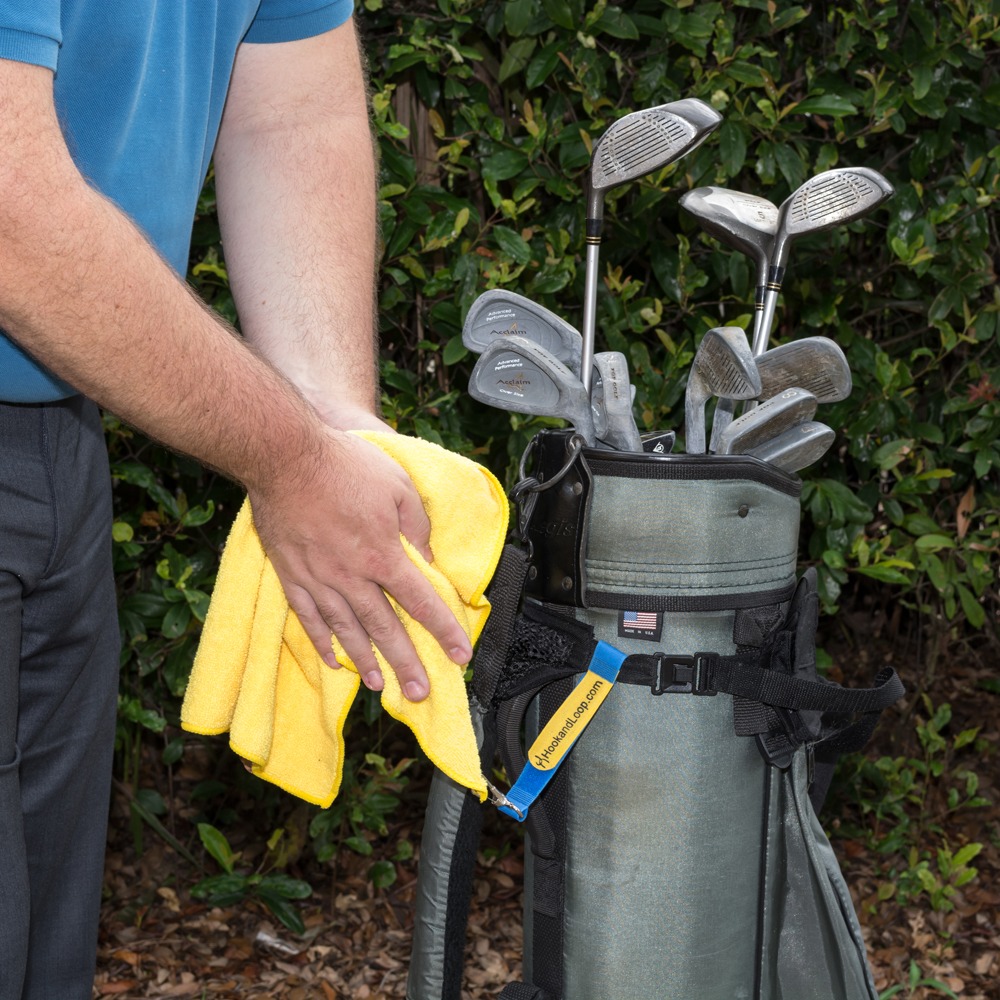


Custom patches are a fast and easy way to customize jackets, sweaters, shirts and even pants. This is why they have become a favorite of the military, law enforcement and athletic organizations. Combining patches with hook and loop fasteners makes them easy to remove for cleaning the garment, or to change out when needed. With that in mind, here’s how to make custom VELCRO® Brand patches.
Why VELCRO® Brand Hooks and Loops Are Good For Patches?
The sheer versatility of hook and loop fasteners makes them ideal for patches. This is because VELCRO® Brand hooks and loops can be attached and removed repeatedly as needed. It was this realization that attracted Swiss engineer George de Mestral, who invented VELCRO® Brand fasteners, to the idea in the first place. Walking with his dog in the woods one day, de Mestral noticed the way burrs attached themselves to his pants and the dog’s coat. Examining the burrs under a microscope revealed their hooks and gave him the insights that lead to his creation of VELCRO® Brand .
The Things You’ll Need
- Design software or a sketchpad
- One pair of scissors
- A needle, some thread and a thimble (or a sewing machine)
- Backing material for the patch
- A ruler
- Glue for the backing material (possibly)
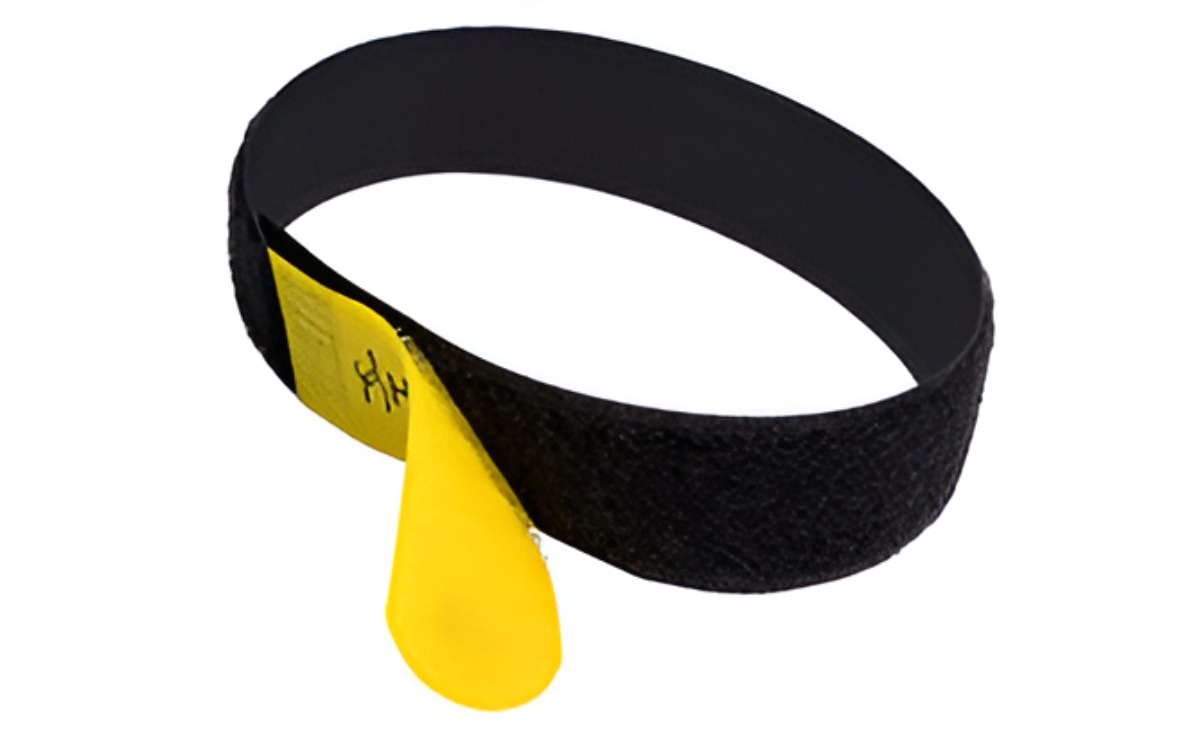
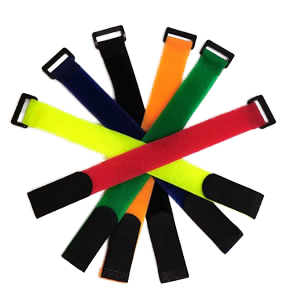
- VELCRO® Brand hook and loop strips or squares
These items will vary slightly if you’re learning how to make custom VELCRO® Brand hook and loop patches or how to make embroidered patches. In some cases, you might just want to attach VELCRO® Brand fasteners to a preexisting patch. These steps will help you get there, regardless of your desired outcome. Just remember you might need to skip certain steps, depending on what you’re trying to do.
Backing Material for Patches
Your backing material choice will depend on your end use. Patches can be made from leather, PVC or heavy fabric. For custom embroidered patches, you’ll stitch threads of varying colors onto the backing you choose. Woven patches will give you a smoother finish, and are created by weaving threads together to create your design.
PVC makes a great backing for patches that will be subjected to the elements, or worn in harsh environments. PVC is capable of dealing with water as well as extreme temperatures. Leather, as a backing material, can give you an old-school look. Its durability is high, plus your design can be stamped into it, or embossed upon it.
Heavy fabric will also work and is most commonly used. However, the resulting patch might not be as robust as one sewn on leather or PVC. Thread choices for sewn or embroidered patches include cotton, polyester or metallic — depending on the visual effect you’re trying to achieve.
Options for Making a VELCRO® Brand Patch
If you’re not one to engage in sewing, there are plenty of online resources for making the design of your choice on whatever backing you’d like. All you have to do is run an internet search for custom embroidery and make your selection.
You’ll send a drawing or pictures of the elements you’d like to include and your patch will be created based on what you send. Once it’s done, attach the hook and loop strips to the finished patch and the garment you want to put the patch on. The types of VELCRO® Brand hook and loops you’ll need depends on the size, shape and durability you’ll need for the patch. Of course, doing it all yourself can be fun if handy with a pen and enjoy sewing.
Your Step-by-Step Guide to Making VELCRO® Brand Hook and Loop Patches
Step One: Make a sketch of your design. There’s software online, or you can use a sketchpad. Your color choices will often be apparent, depending on what you’re thinking, but if not you’ll want to think that through, along with how big to make the patch and what shape you want it to be.
Step Two: Measure your sketch so you’ll know how much backing material you’ll need, then go to a fabric store and get it. The best fabric stores have people who can help you figure out how much you’ll need to buy based on the number of patches you’re making and the size you want them to be. You’ll also want to buy the hook and loop strips or squares you’ll need.
Step Three: Cut the backing material into the desired size and shape.
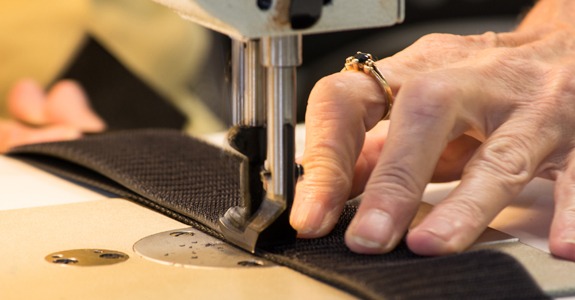
Step Four: Sew your design onto the backing material using an embroidery machine, or by hand if you’re good at needlepoint.
Step Five: Attach your hooks to the back of the patch. This can be done with glue, a sewing machine or by hand sewing. Once this is done, attach the loops to the hooks, and then trim the excess fabric and fasteners .
Step Six: Detach the loops and place them on the garment where you want to patch to be attached. Here again, you can sew them into place with a sewing machine or by hand. You can also use fabric glue to attach the hooks and loops if that will be easier. Just know that method might not last as long as sewing them on.
Step Seven: Attach your patch and you’re good to go.
Naturally, you’ll skip steps two through four if you decide to have your patch created online. Either way though, this is how to make custom VELCRO® Brand hook and loop patches, as well as how to make embroidered VELCRO® Brand patches. A wonderful expression of your creativity, this can be a lot of fun and it’s a good way to add versatility to any jacket, sweater, shirt or trousers.